
Create and publish your web forms easily with Mailify
Forms are a must have tool for an efficient website. They allow you to collect data, generate leads, conduct surveys, qualify prospects or collect your customers’ opinions on your products or services. Managing registrations for an event, conducting a survey, collecting email addresses to send out your newsletter, are just a few concrete examples of how you can use web forms. The possibilities are multiple. With Mailify, you will be able to find the right form for your activity and integrate it easily to your website in a few clicks regardless of the technical specifications you may have.
What is a web form?
A web form is a website section used to collect information entered by an Internet user on a web page for a specific purpose (newsletter registration, online orders, reservation request, information request, quote request, questionnaire, event registration, etc.). The implementation of a form makes it possible to structure the information collected from the Internet users but also to accelerate, optimize and standardize the data entry.
Why should you create online forms?
A better event management
Do you regularly organize events? Integrate a form on your website so that participants can register in one click.
Follow the progress of registrations in real time thanks to notifications. Anticipate your needs according to the number of registrants and optimize your guest reception.
Optimized sales performance
Integrate information or quote request forms on your website to facilitate the management of incoming requests.
Notify your sales team instantly of each new request and ensure that your prospects are contacted quickly.
A reduction of the response time
Do you offer support request forms on your website? Do you want to optimize the processing time of these requests? Notify your customer service instantly to reduce response time.
Synchronized data
Find all the new subscriptions, the answers entered through your forms and the updates of your contacts’ data directly in Mailify.
Your data are thus constantly synchronized and allow you to trigger other marketing actions.
For example, send automatically a thank you email when a contact subscribes to your newsletter or validates a form to order products online.
How to create and publish your forms with Mailify?
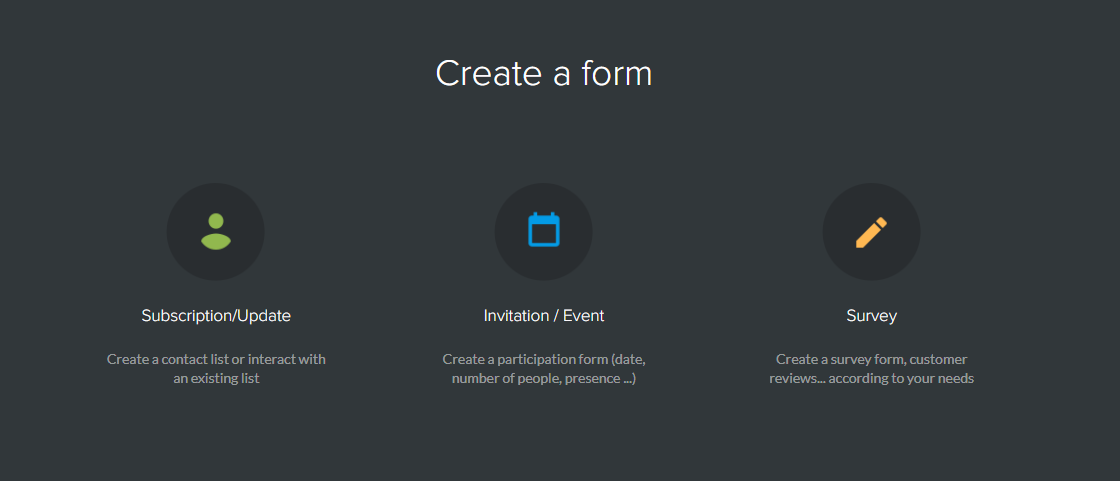
What are the different types of forms available in Mailify?
Subscription / update forms
Create, modify and host customized data entry forms such as newsletter subscription forms, information request forms or support request forms. Check out our step-by-step tutorial to create a “Subscribe / Update” form.
Invitation forms
[Tuto] Create an invitation form
Invite contacts to an event and track their responses in Mailify. Create and edit registration forms and receive responses directly in your contact list.
Survey forms
[Tutorial] Create a survey form
Create in a few clicks customized survey forms (request for feedback, questionnaire, satisfaction survey) designed and hosted by Mailify. Discover our step by step tutorial to create a survey with Mailify.
Discover the Mailify form creation tool
Like the EmailBuilder, this graphic editor works with a drag and drop system and allows you to add images, logos, colors, to define a style, a structure and to choose the information fields you need.
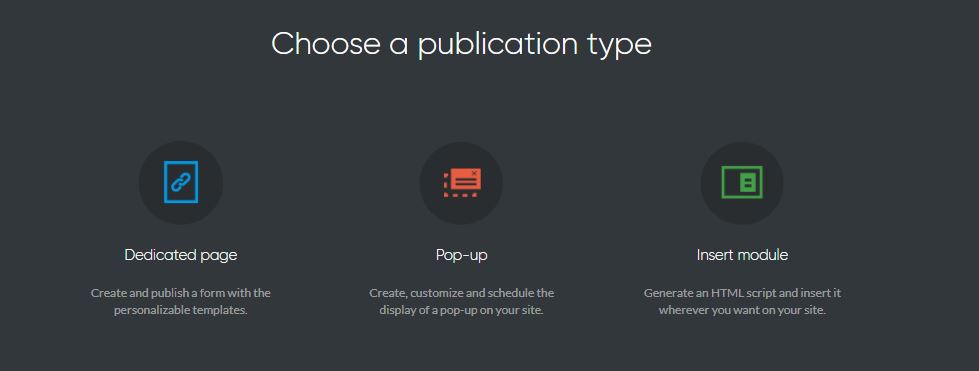
What are the different ways to integrate your forms on your site?
BUILD A LEAD CAPTURE PAGE
We will build and host a dedicated landing page for your form, allowing campaign-specific tracking. Share the link with your target audience to promote sign-ups, opt-ins and feedback.
CREATE AN AUTOMATIC POP-UP FORM
Mailify will provide you with a code that allows for forms to open via pop-up boxes overlaid on your website. Every element can be edited to meet your needs: the design and position, the timing of the pop up and the visual effects.
EMBED A FORM INTO YOUR HTML
Embed the HTML code we provide for your form directly into your website. Once again, everything is completely customisable to ensure the form integrates nicely with the particular page it sits on.
3 use cases of forms with Mailify
How to set up a subscription form for your newsletter?
Mailify’s integrated form editor allows you to create newsletter signup forms in just a few clicks. Don’t miss the opportunity to convert your visitors into leads.
Create attractive sign-up forms that inspire confidence and build your contact lists effectively.
Each time someone subscribes to your newsletter, the contact is instantly added to the mailing list to which the form is related.
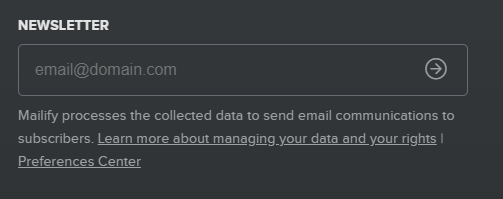
As an example, you will see below the newsletter registration form used by Mailify.
Step 1
From the Mailify homepage, click on the “Pages and Forms” section. Click on the “Create” button on the top right and select “Form” in the drop-down menu.
Step 2
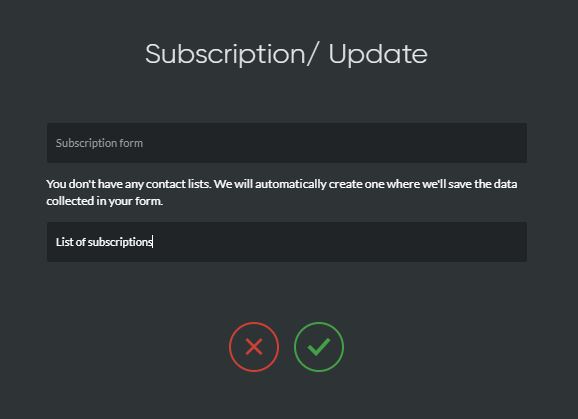
Select “Subscription / Update”.
Name your form and create a new list dedicated to your newsletter subscribers. If you already have a list of subscribers then select it from the drop down list.
Step 3
Define the fields that should appear in your form and the format of each field (text, email, phone, checkboxes, etc.). Then go to the next step.

NB: Remember to only ask for the information you need. For a subscription form to your newsletter, the email address, the title, the name and the first name are enough at first. You can then refine the qualification of your contacts by adding other information about them based on their behavior (purchase history, clicks in your campaigns, etc.) or by sending them a questionnaire to determine their interests, for example.
Step 4
Choose the way you want to publish and integrate your form.
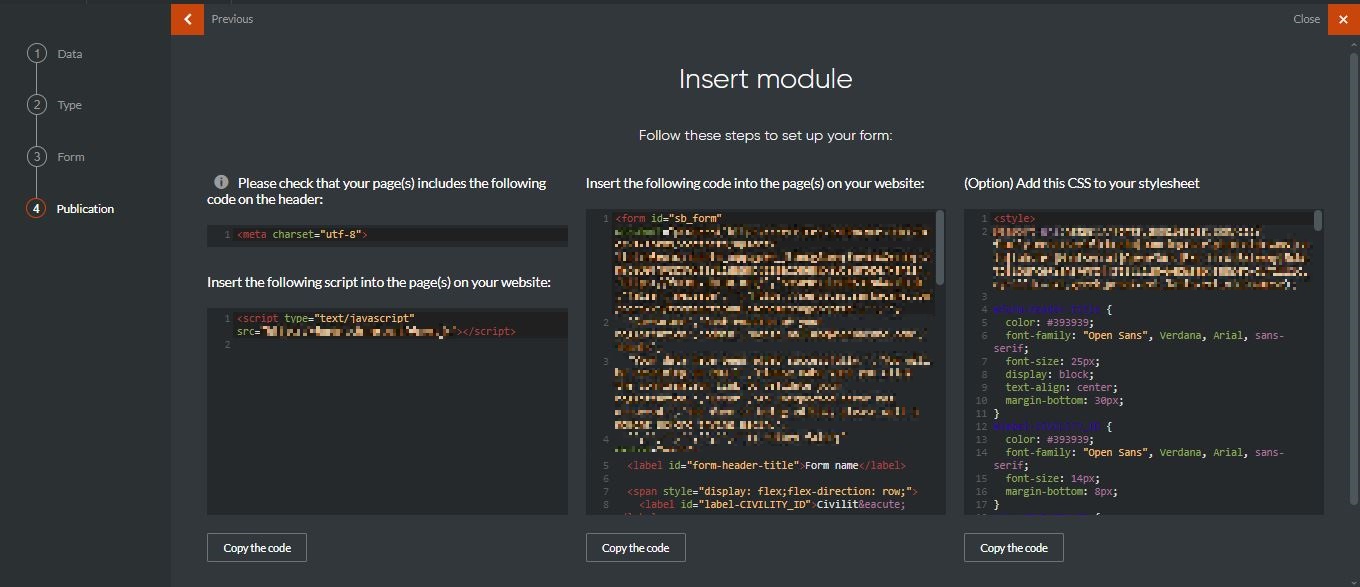
For this example, let’s say that you want an html block to be integrated in the footer of all the pages of your website. Select “Insert module”.
NB: If you choose to integrate your form on a dedicated page or on a pop-up window on your site, you can choose to use one of the pre-designed form templates available in the template gallery. The ” Insert module” format does not have any pre-designed templates.
Step 5
You are then redirected to the form creation tool.
Like the EmailBuilder, this editor works by simple drag and drop. Edit the text of your form, add fields / questions if necessary, then validate your form.
Our tip In order to guarantee the quality of your email base, you can set up double opt-in confirmations once someone has signed up for your newsletter on your contact forms. Your subscribers will then receive an email to validate their subscription.
To do so, before validating your form, click on the behavior section in the menu on the right of your form, then activate the “Double opt-in verification” option. All you have to do is fill in the content of your confirmation page and your registration validation email. That’s it!
Step 6
In the next step, Mailify offers you 3 ways to embed your newsletter signup form on your website pages. Once the html code is integrated to the pages of your choice, your list of newsletter subscribers will be updated automatically.
How to set up a registration form for an event?
You are organizing a specific event (conference, business dinner, meeting …) and you want to invite your contacts to this event?
Create your own registration form, receive directly the answers of your attendees in Mailify and inform your teams automatically each time a new registration is validated.
Step 1
From the Mailify homepage, click on the “Pages and Forms” section. Click on the “Create” button on the top right and select “Form” in the drop-down menu.
Step 2
Select “Invitation / Event”.

Name your form and indicate the location (optional), date and time of your event. Validate to go to the next step.
NB: The address of your event will only be used if you choose to insert a Google Maps in your registration form to help your guests get to the event on the official day.
Step 3
In the next step, you can select a pre-designed form template from the template gallery or you can choose to start from scratch.
For our example, let’s choose the “Corporate” template.
You are then redirected to the form creation tool. Like the EmailBuilder, this editor works by simple drag and drop.
Modify the text of your form, add fields if necessary and validate your form.
Step 4
All you have to do is select the domain of your choice and then click on the “Publish form” button to get the link to your page.
Our tip
This is also the step where you can set up notifications to receive a notification to yourself or to your teams for each new registration.
This will allow you to better anticipate the material resources you’ll need based on the number of participants.
How to set up a survey?
Whether it’s a survey, a market research, a satisfaction survey or a vote, ask the questions you want, and collect the answers from your contacts directly in Mailify.
Step 1
From the Mailify homepage, click on the “Pages and Forms” section. Click on the “Create” button on the top right and select “Form” in the drop-down menu.
Step 2
Select “Questionnaire”.
Name your form and validate to go to the next step.

Step 3
In the next step, you can select a pre-designed form template from the template gallery or you can choose to start from scratch.
For this example, let’s choose the “Metropolitan” template.
Step 4
You are then redirected to the form creation tool.
Like the EmailBuilder, this editor works by simple drag and drop. Edit the text of your form, add fields if necessary and above all it is at this step that you will be able to create the questions of your survey.
Please visit our Help Center for more information on the types of questions you can insert.
Step 5
Select the domain of your choice and click the “Publish Form” button to get the link of your page.
Your survey is now published. All you have to do is share the link to your survey on social networks, on your website or in an email campaign for example. If you plan to send out a newsletter dedicated to your online survey, remember to plan one or two follow-ups to boost the participation rate of your survey.
No Comments